![]()
Keyboard ALT + g to toggle grid overlay
Events
Events are the physical embodiment of our brand and bring yet another dimension (pun intended) to our identity. They are a unique opportunity to create a lasting impression, but it goes much deeper than how we look. It’s about how we make people feel.
Whether it’s the Autodesk Gallery, a pop-up event, or trade show, our event spaces should surprise and delight, educate and inspire. They should provoke conversation and build community. Because that is what Autodesk, at its core, is all about: supporting and nurturing the global community of creators and innovators.
While exhibits and messaging content for events may vary depending on audience, region, budget, and other needs, they should reflect our point of view on the Future of Making Things and reiterate what we stand for and who we are as a company. From big events to small, here are guidelines on how to design these physical environments and create cohesive, thoughtful, and memorable Autodesk experiences.
Standard booth structures
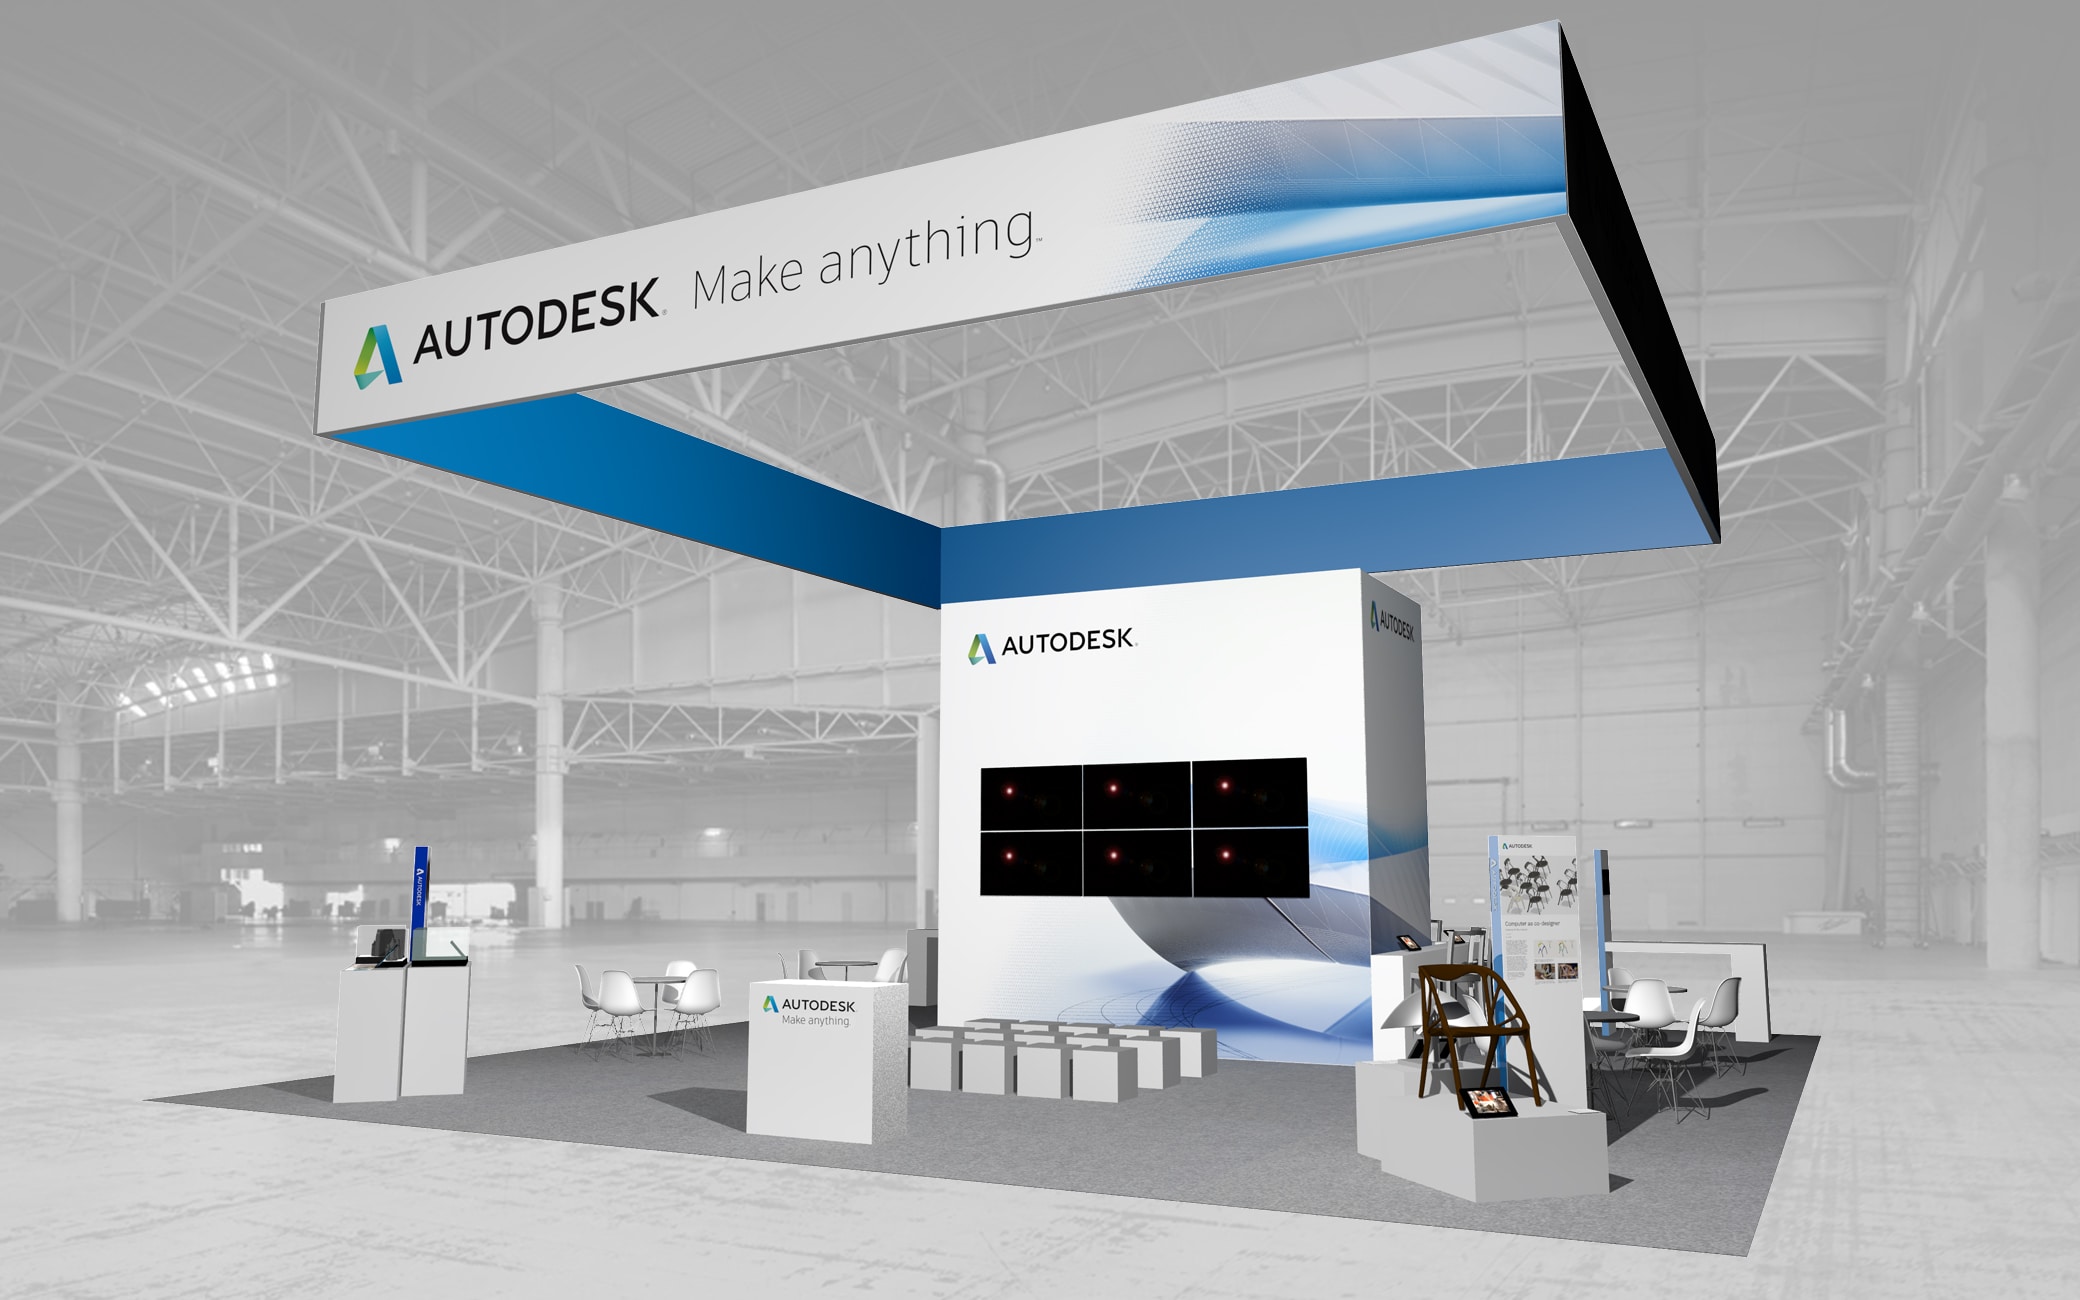
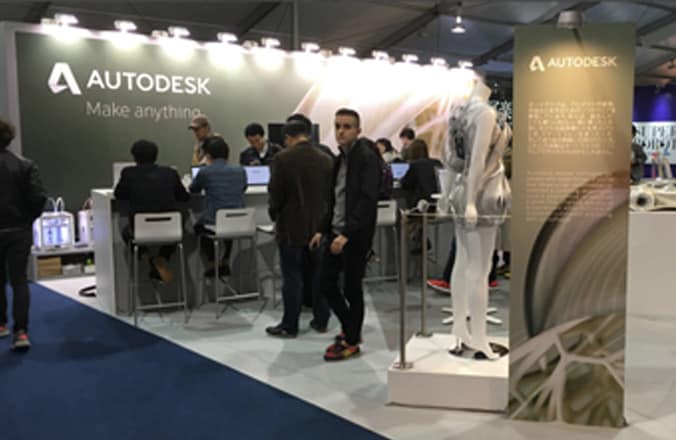
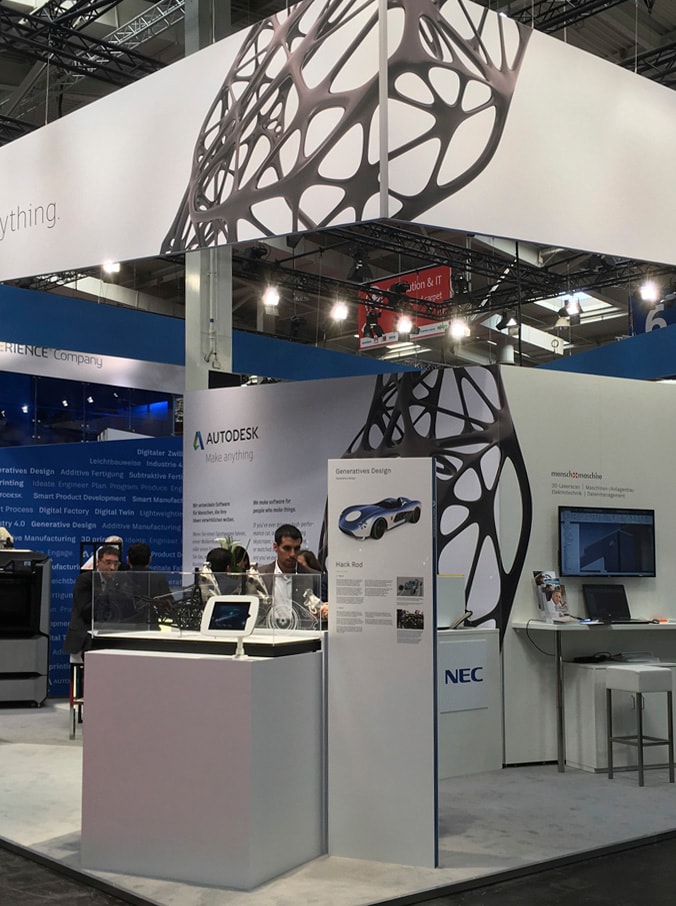
Autodesk utilizes a variety of booth structures for events worldwide. In many situations, the most affordable option is to rent these structures from our preferred event suppliers. But whether renting or buying, the structures should display characteristics similar to those shown in the examples below–simple, clean, and modern. The layout of the booths should also have a visual cohesiveness that allows visitors to clearly recognize who we are and what we are about.
Below are the typical layout sizes Autodesk uses at various trade shows worldwide.
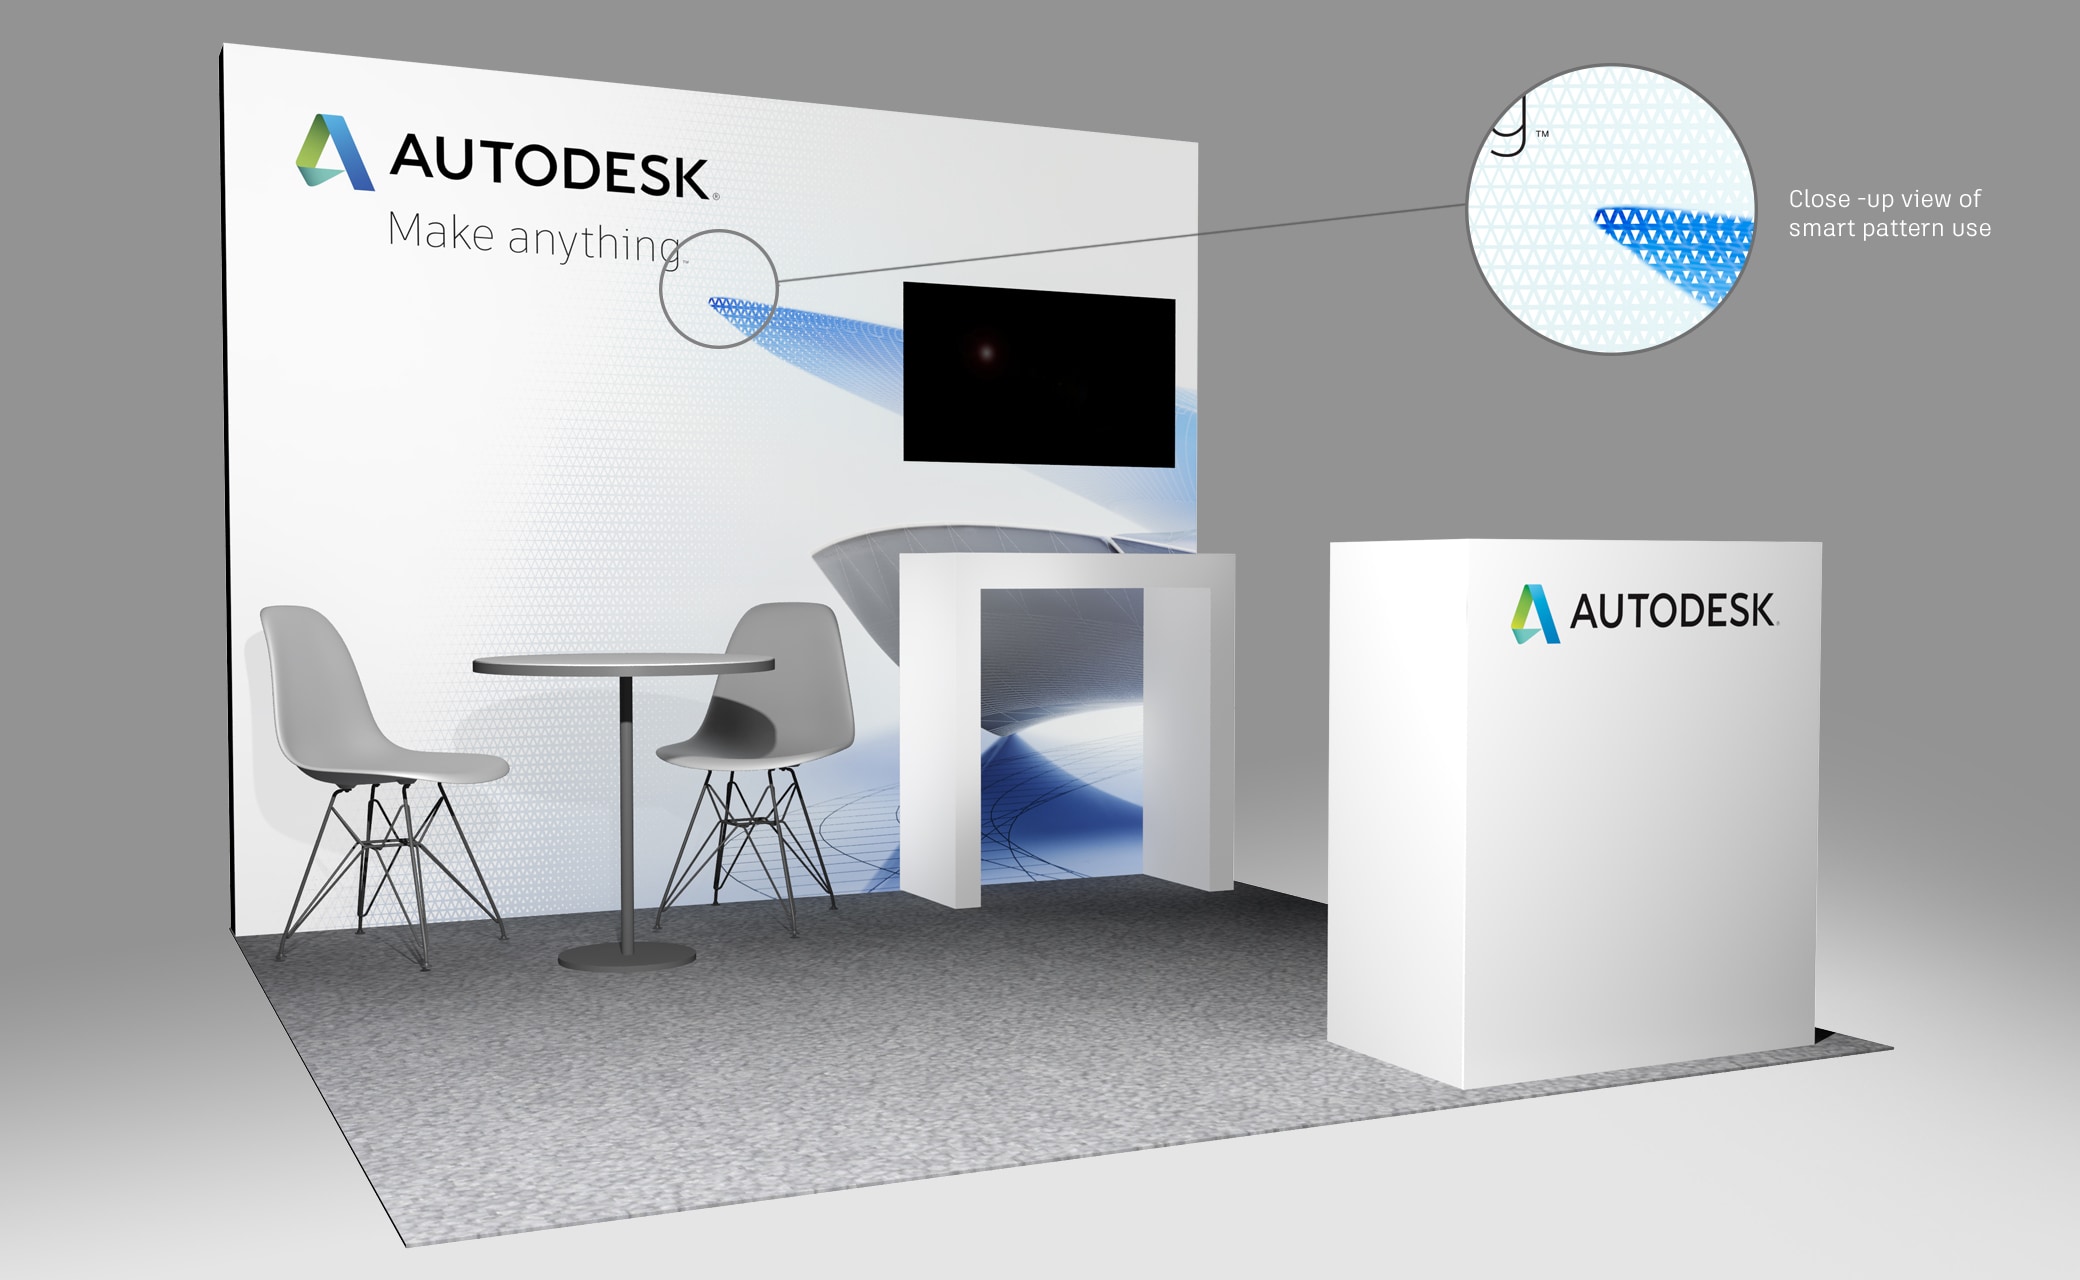
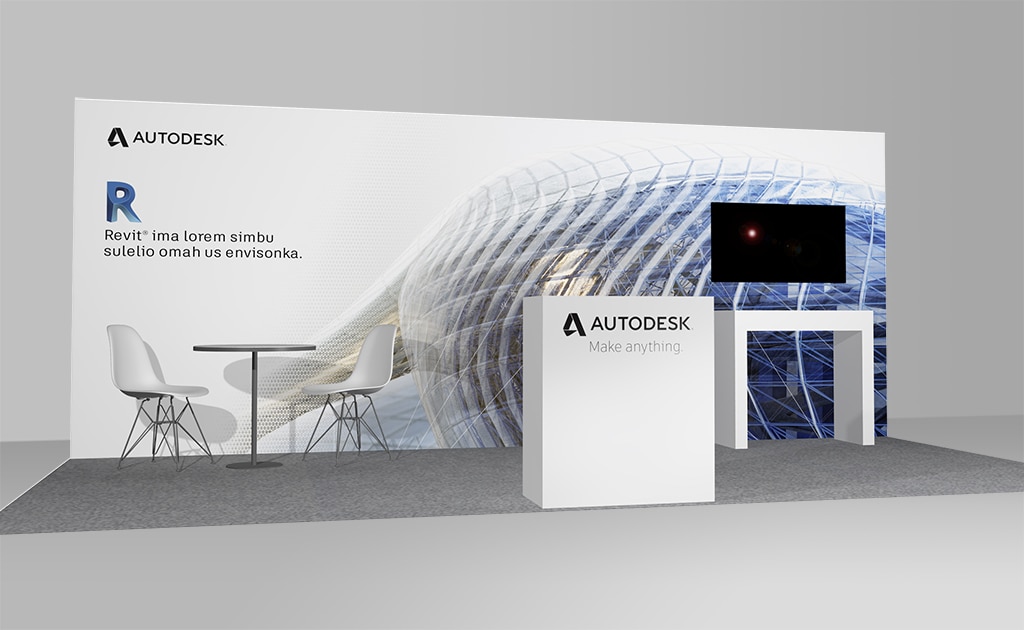
10' x 10' booths
10’ x 10’ booths often consist of a back wall, information counter, casual seating, demonstration area(s), and graphic. Below are a few examples of booths representing corporate, industry, or product content.
Corporate-focused

Industry-focused
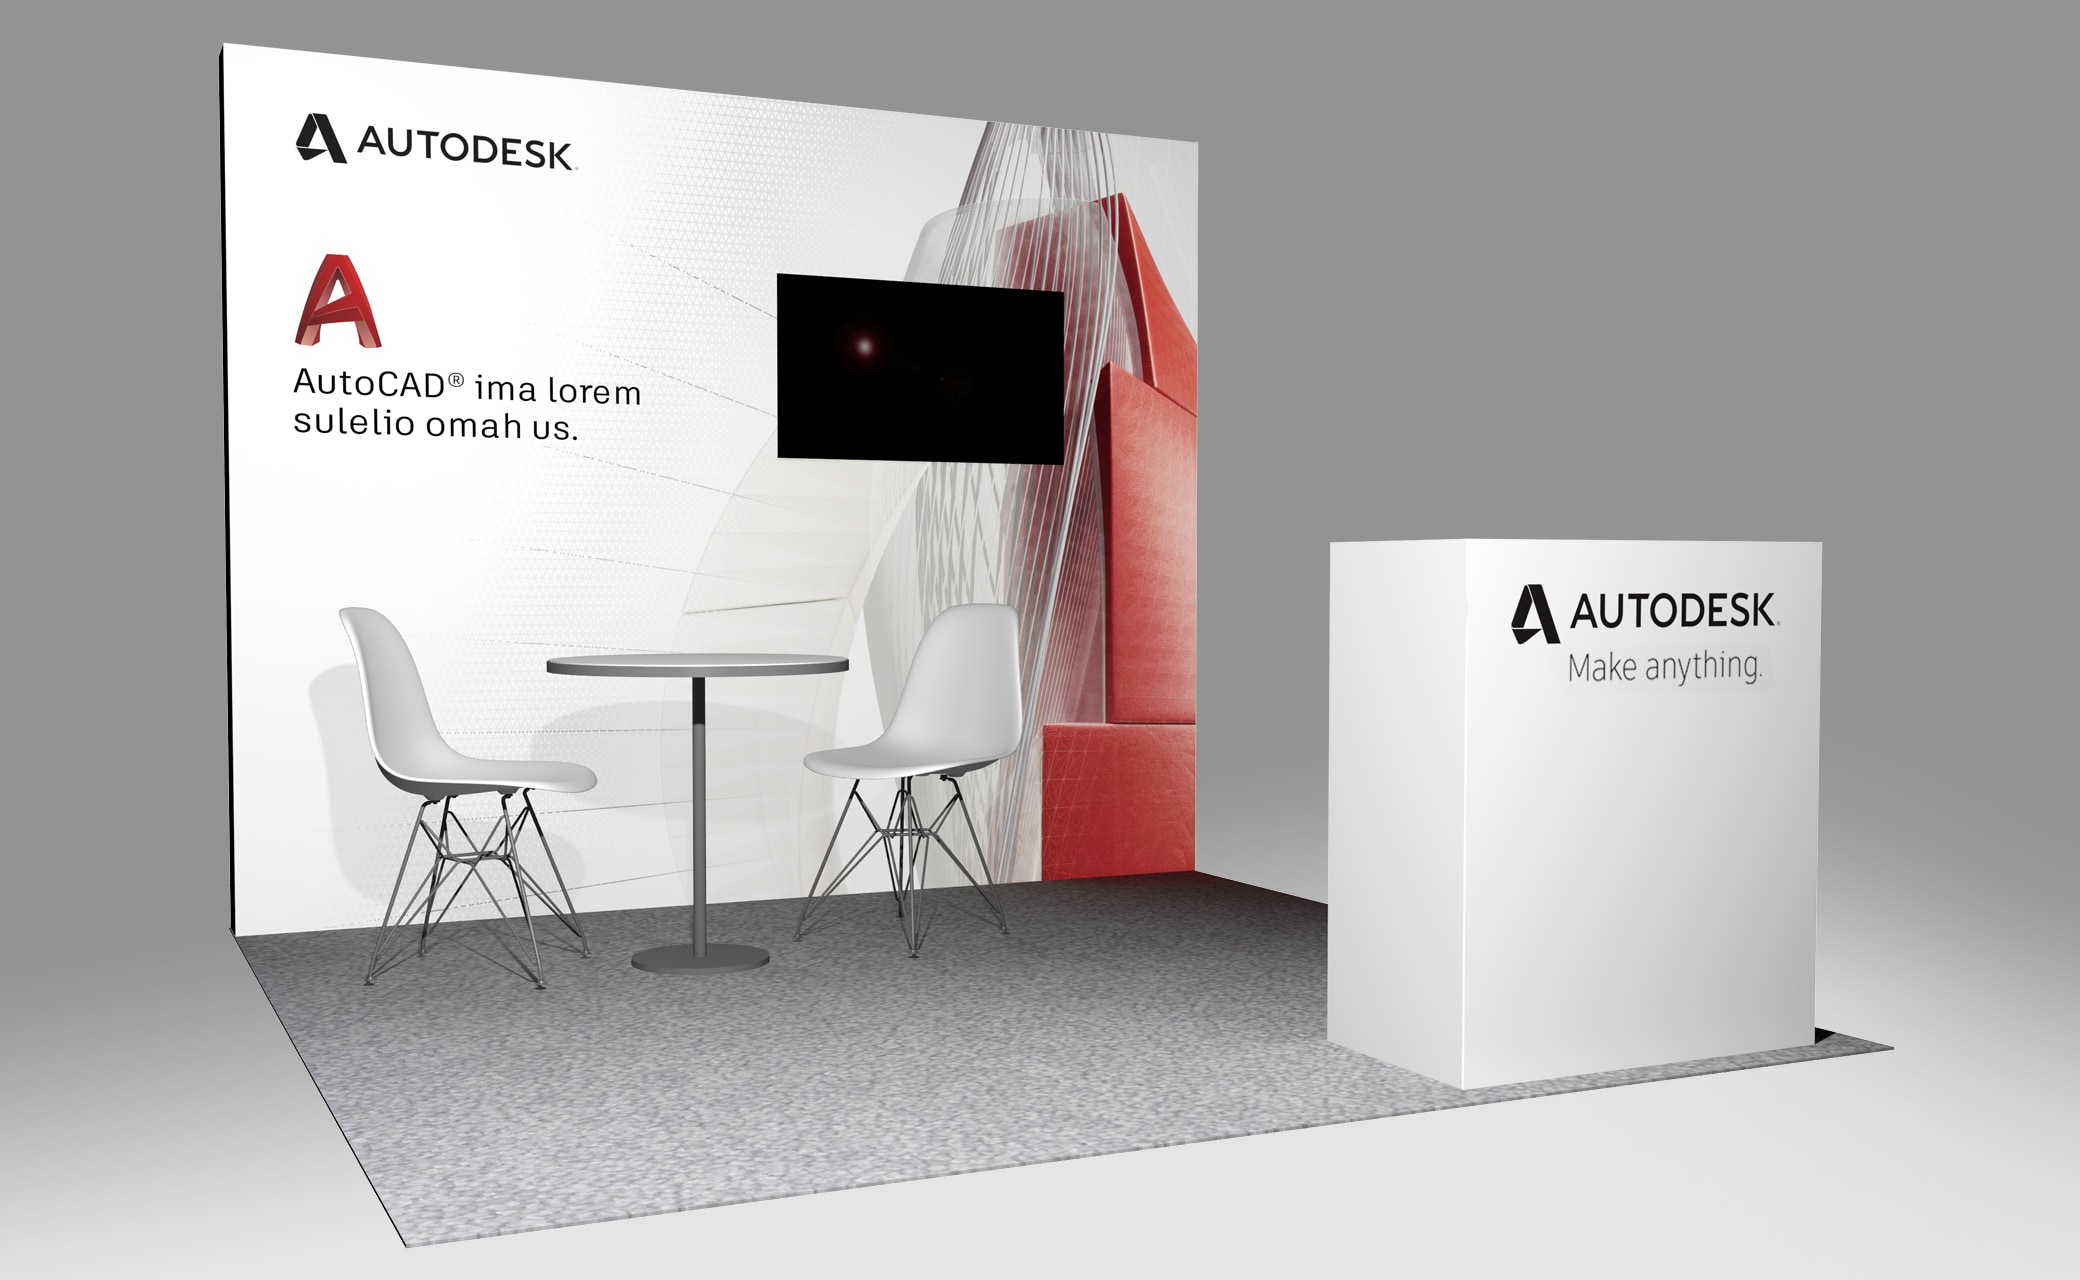
Product-focused
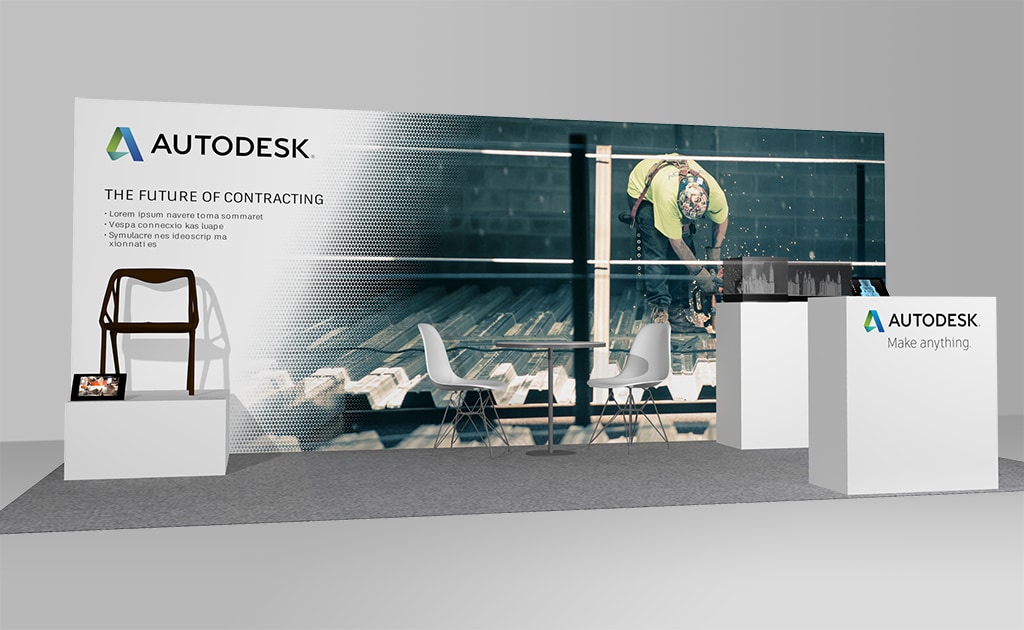
10' x 20' booths
Similar to the smaller booth, these consist of a back wall, information counter, casual seating, and demonstration area, with a bit more space. See below for examples of 10’x 20’ booths representing corporate, industry, or product content.

Corporate-focused
Industry-focused
Product-focused
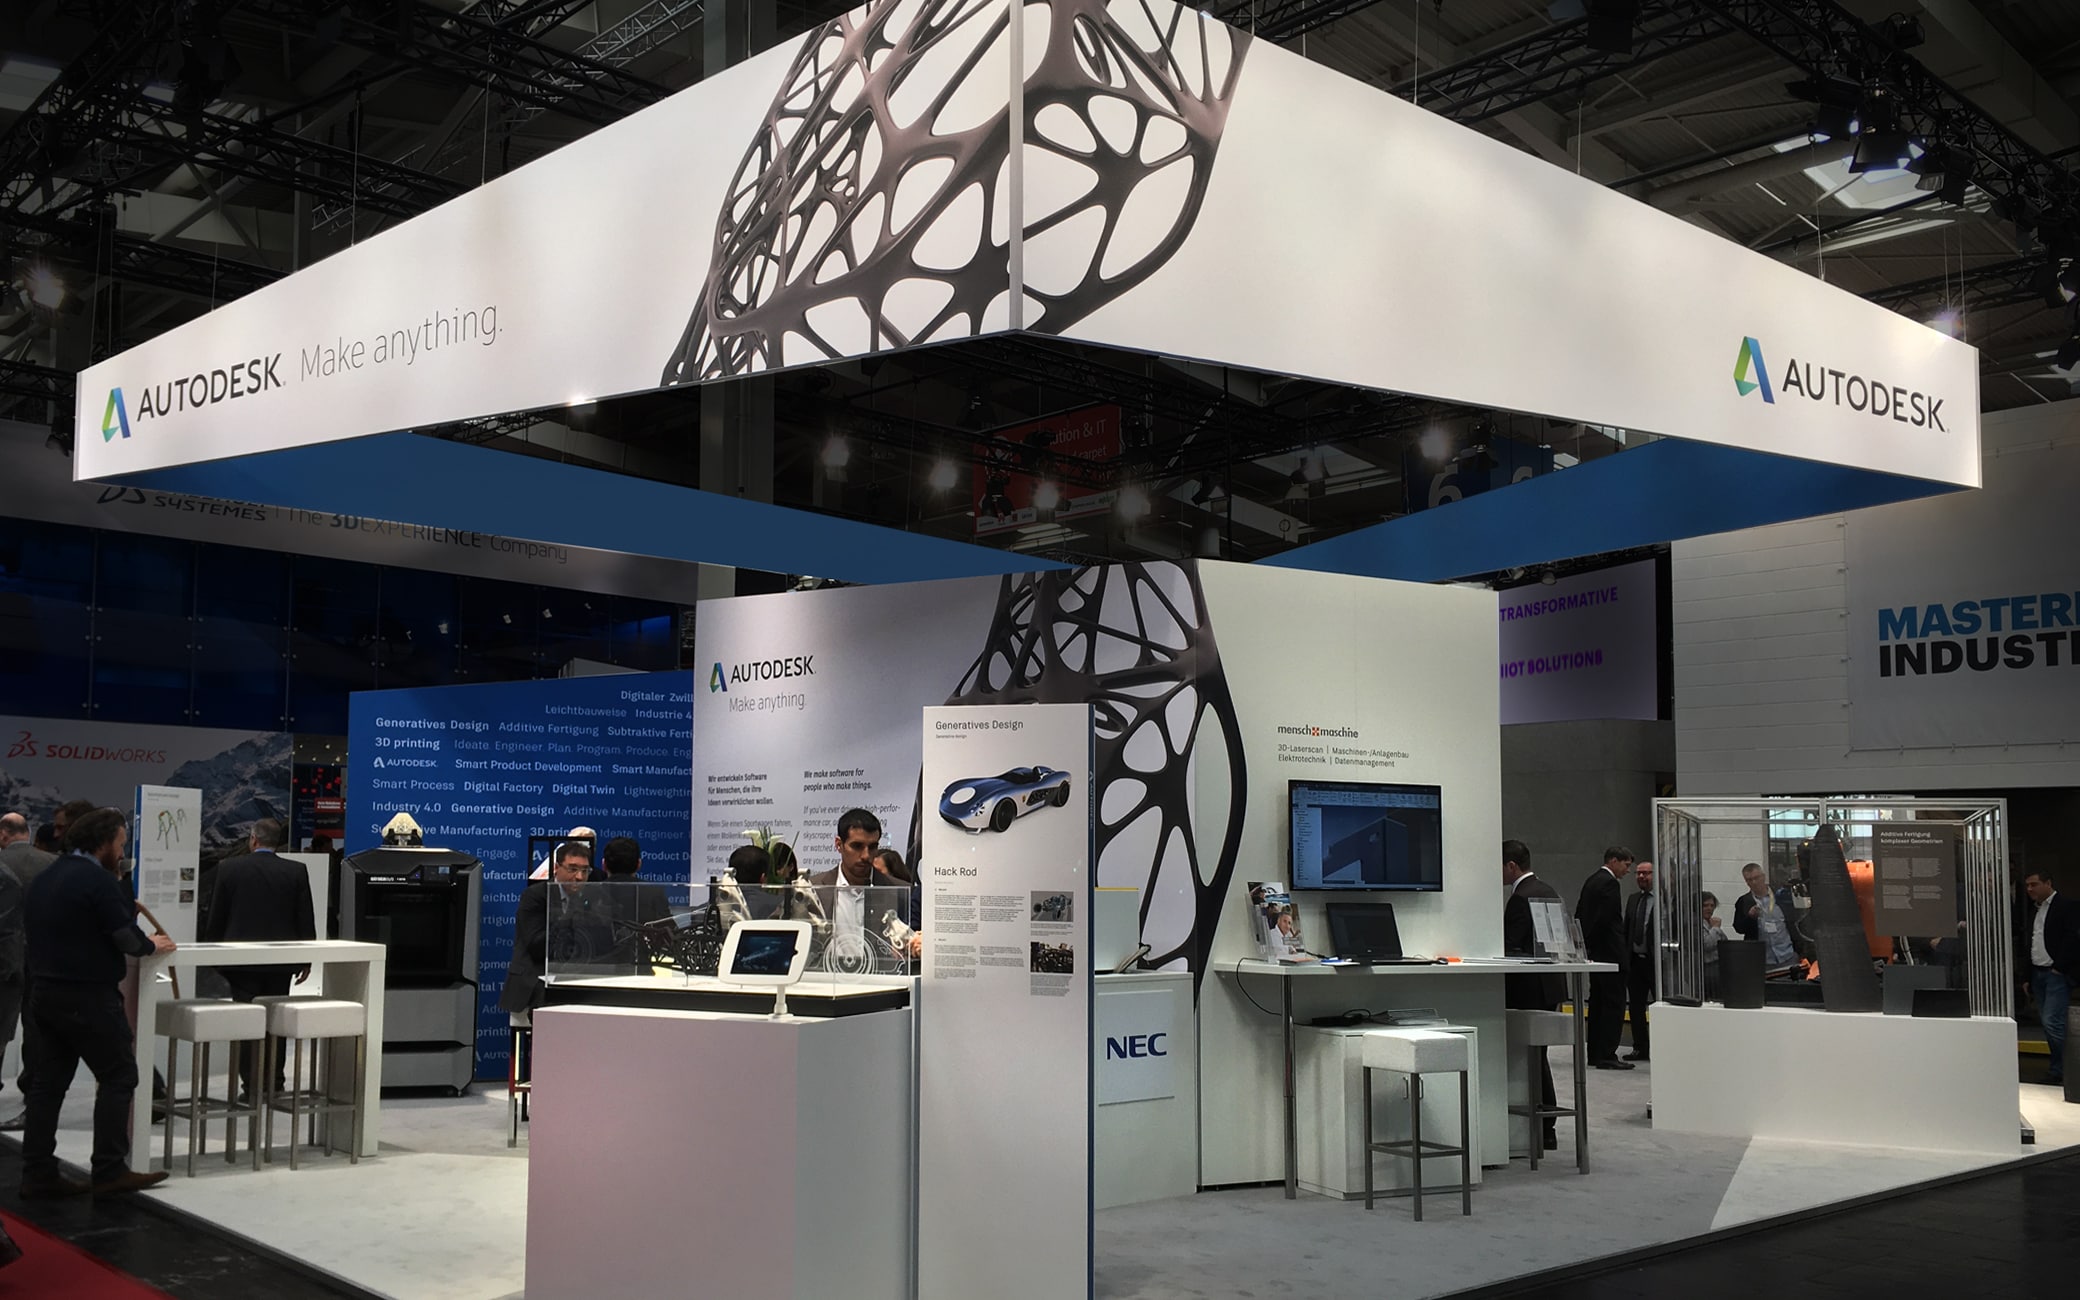
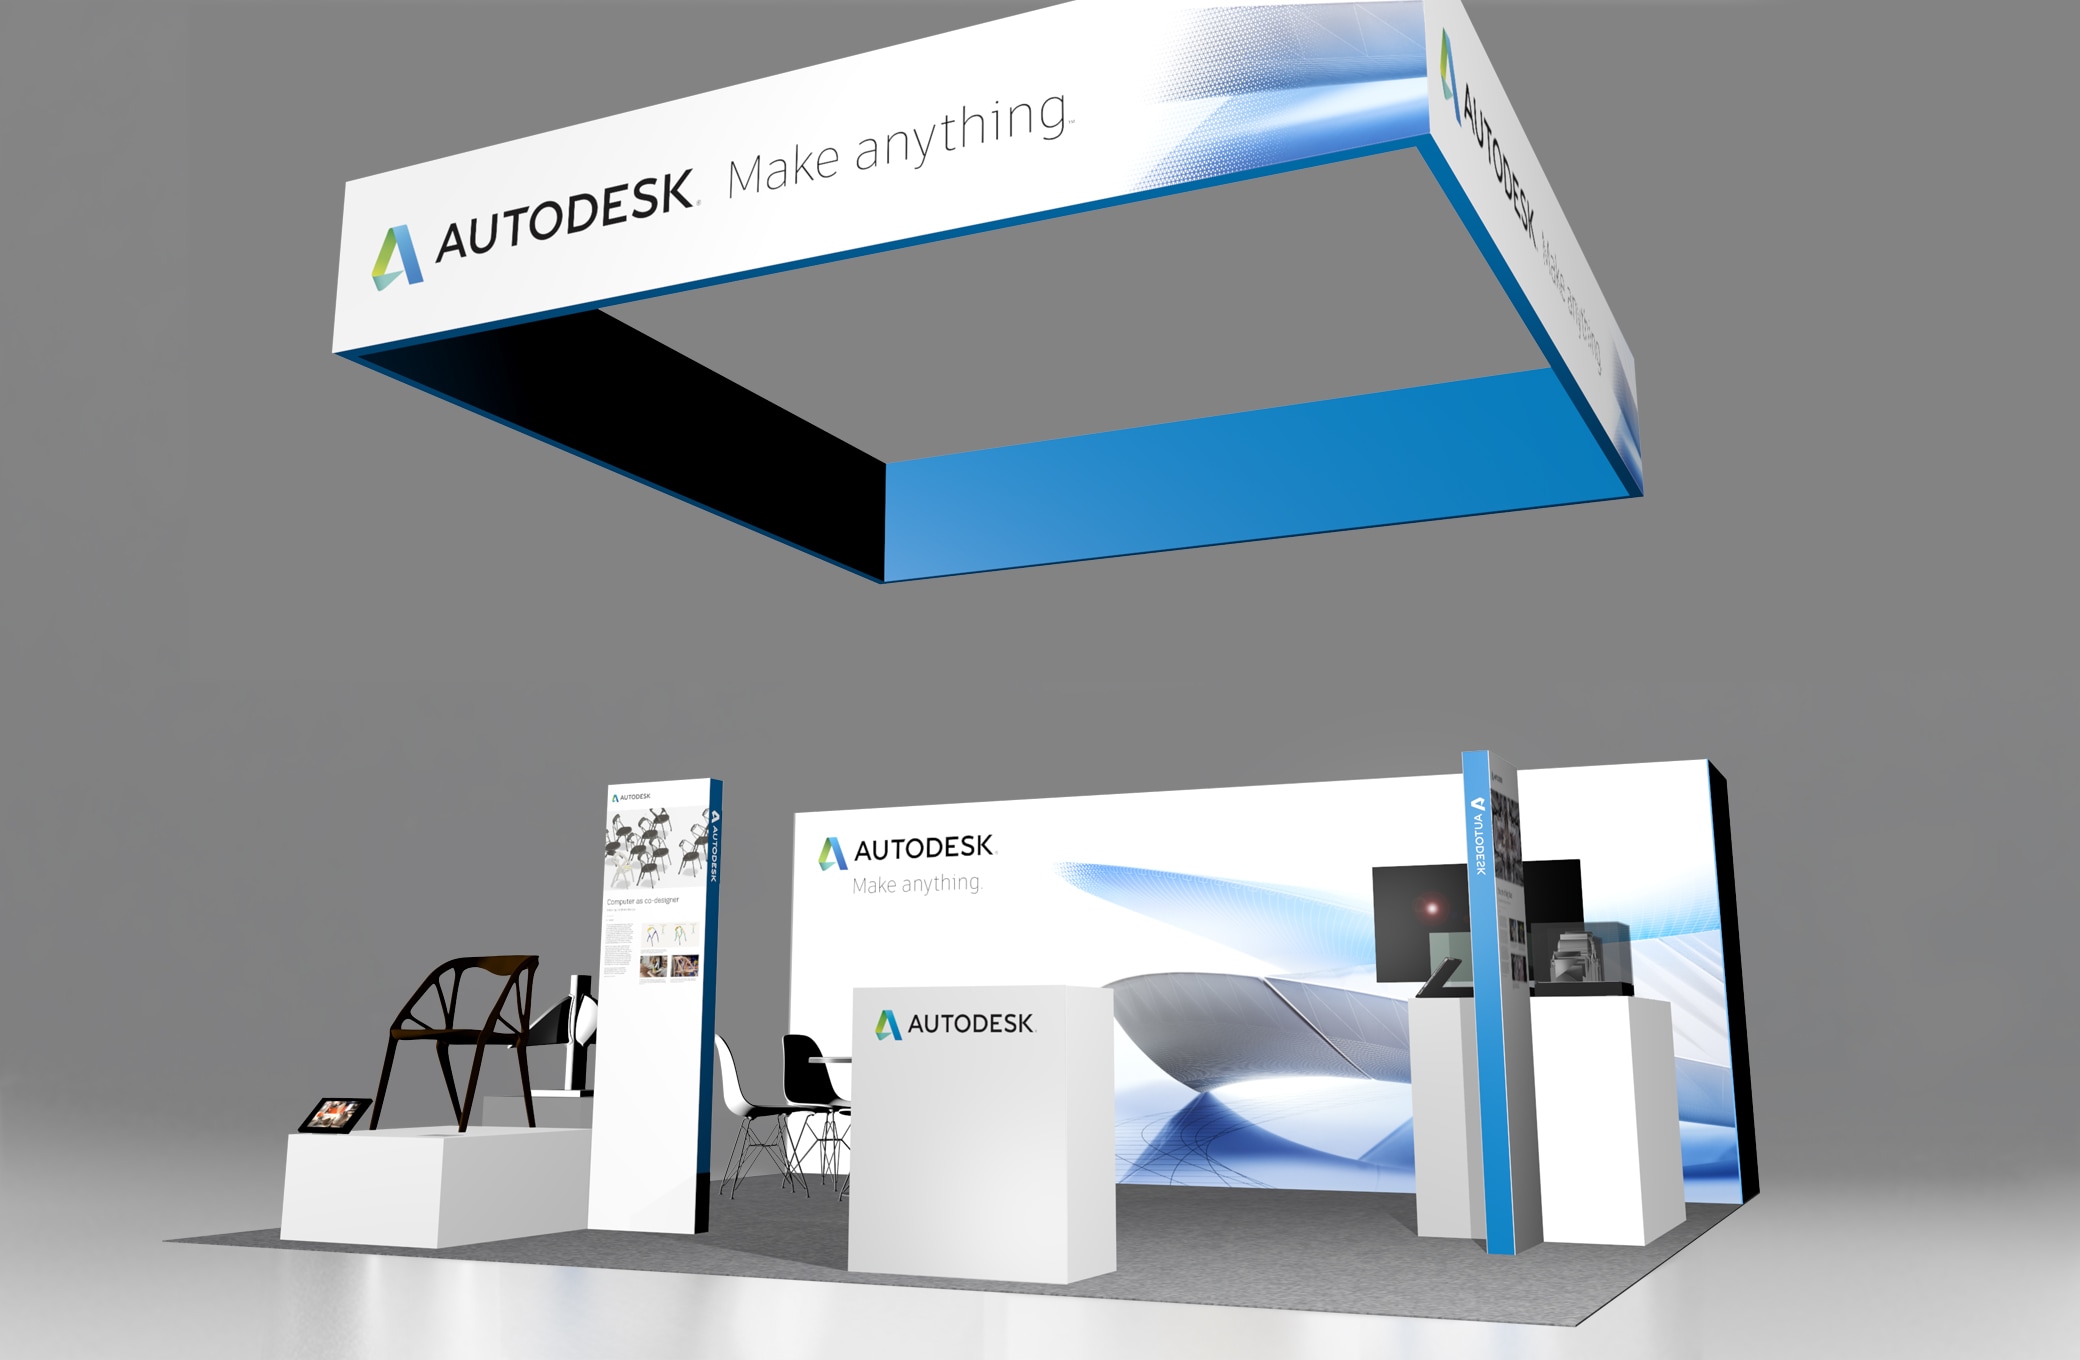
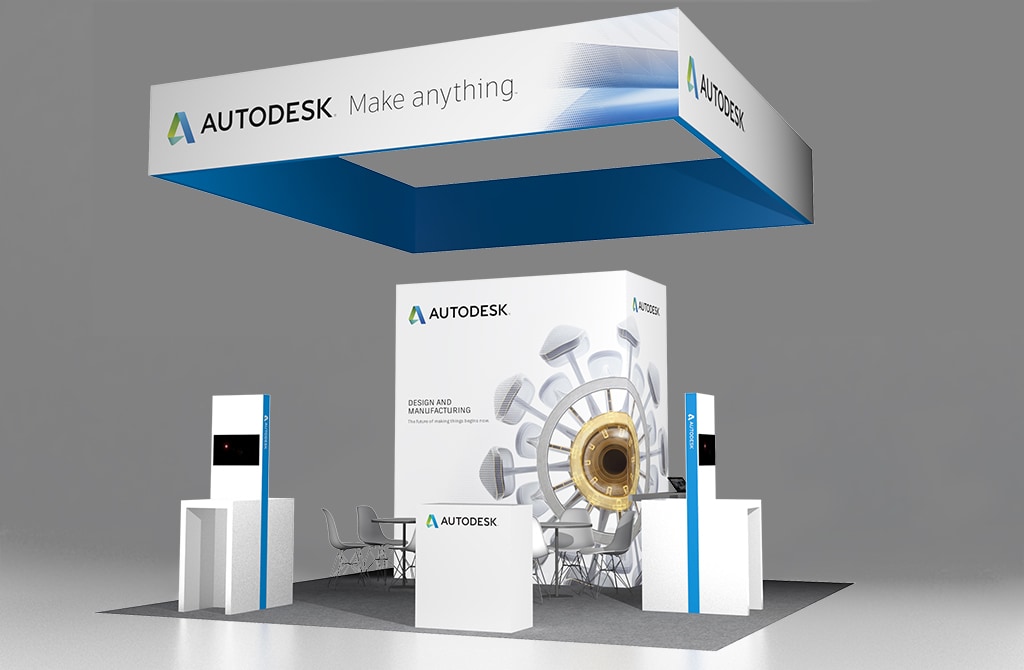
20' x 20' booths
These spaces typically incorporate a back wall with high-level messaging, a casual seating area, demonstration areas, information counters, customer exhibits, hanging signage, and storage. They can be configured as either a peninsula or island. Below are examples of 20’x 20’ booths representing corporate, industry, or product content.
Corporate-focused, peninsula configuration
Industry-focused, island configuration
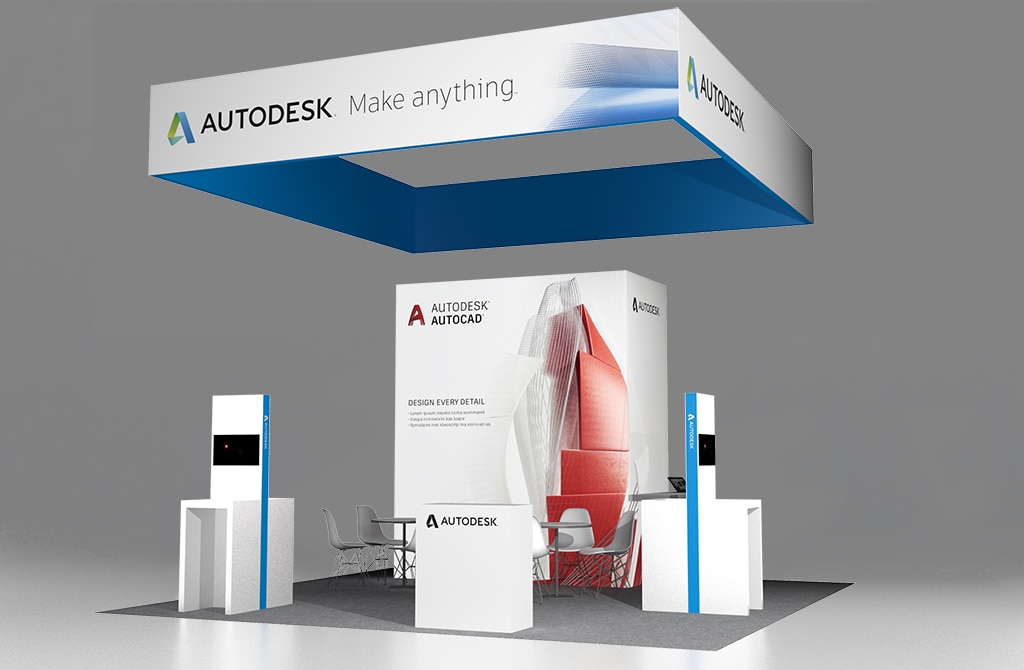
Product-focused, island configuration
40' x 40' booths
For larger booths, please consult directly with the Brand Creative Events team for design guidance. Large spaces typically incorporate a back wall with high-level messaging, casual seating areas, demonstration areas, information counters, customer exhibits, and storage. See below for examples of 40’ x 40’ booths representing corporate, industry, or product content.
Corporate-focused, island configuration
Don’t see what you’re looking for? Need something even larger? Contact the Brand Creative Events team for assistance.
Standard booth components
Various components go into creating an Autodesk event. Each space utilizes not only physical objects of different shape and scale (signage, furniture, etc.), but also graphic elements (color, texture, and finishes). To reinforce our singular vision and connection with customers, it’s important to create a cohesive environment, so always consider the impact of individual components and how they work together.
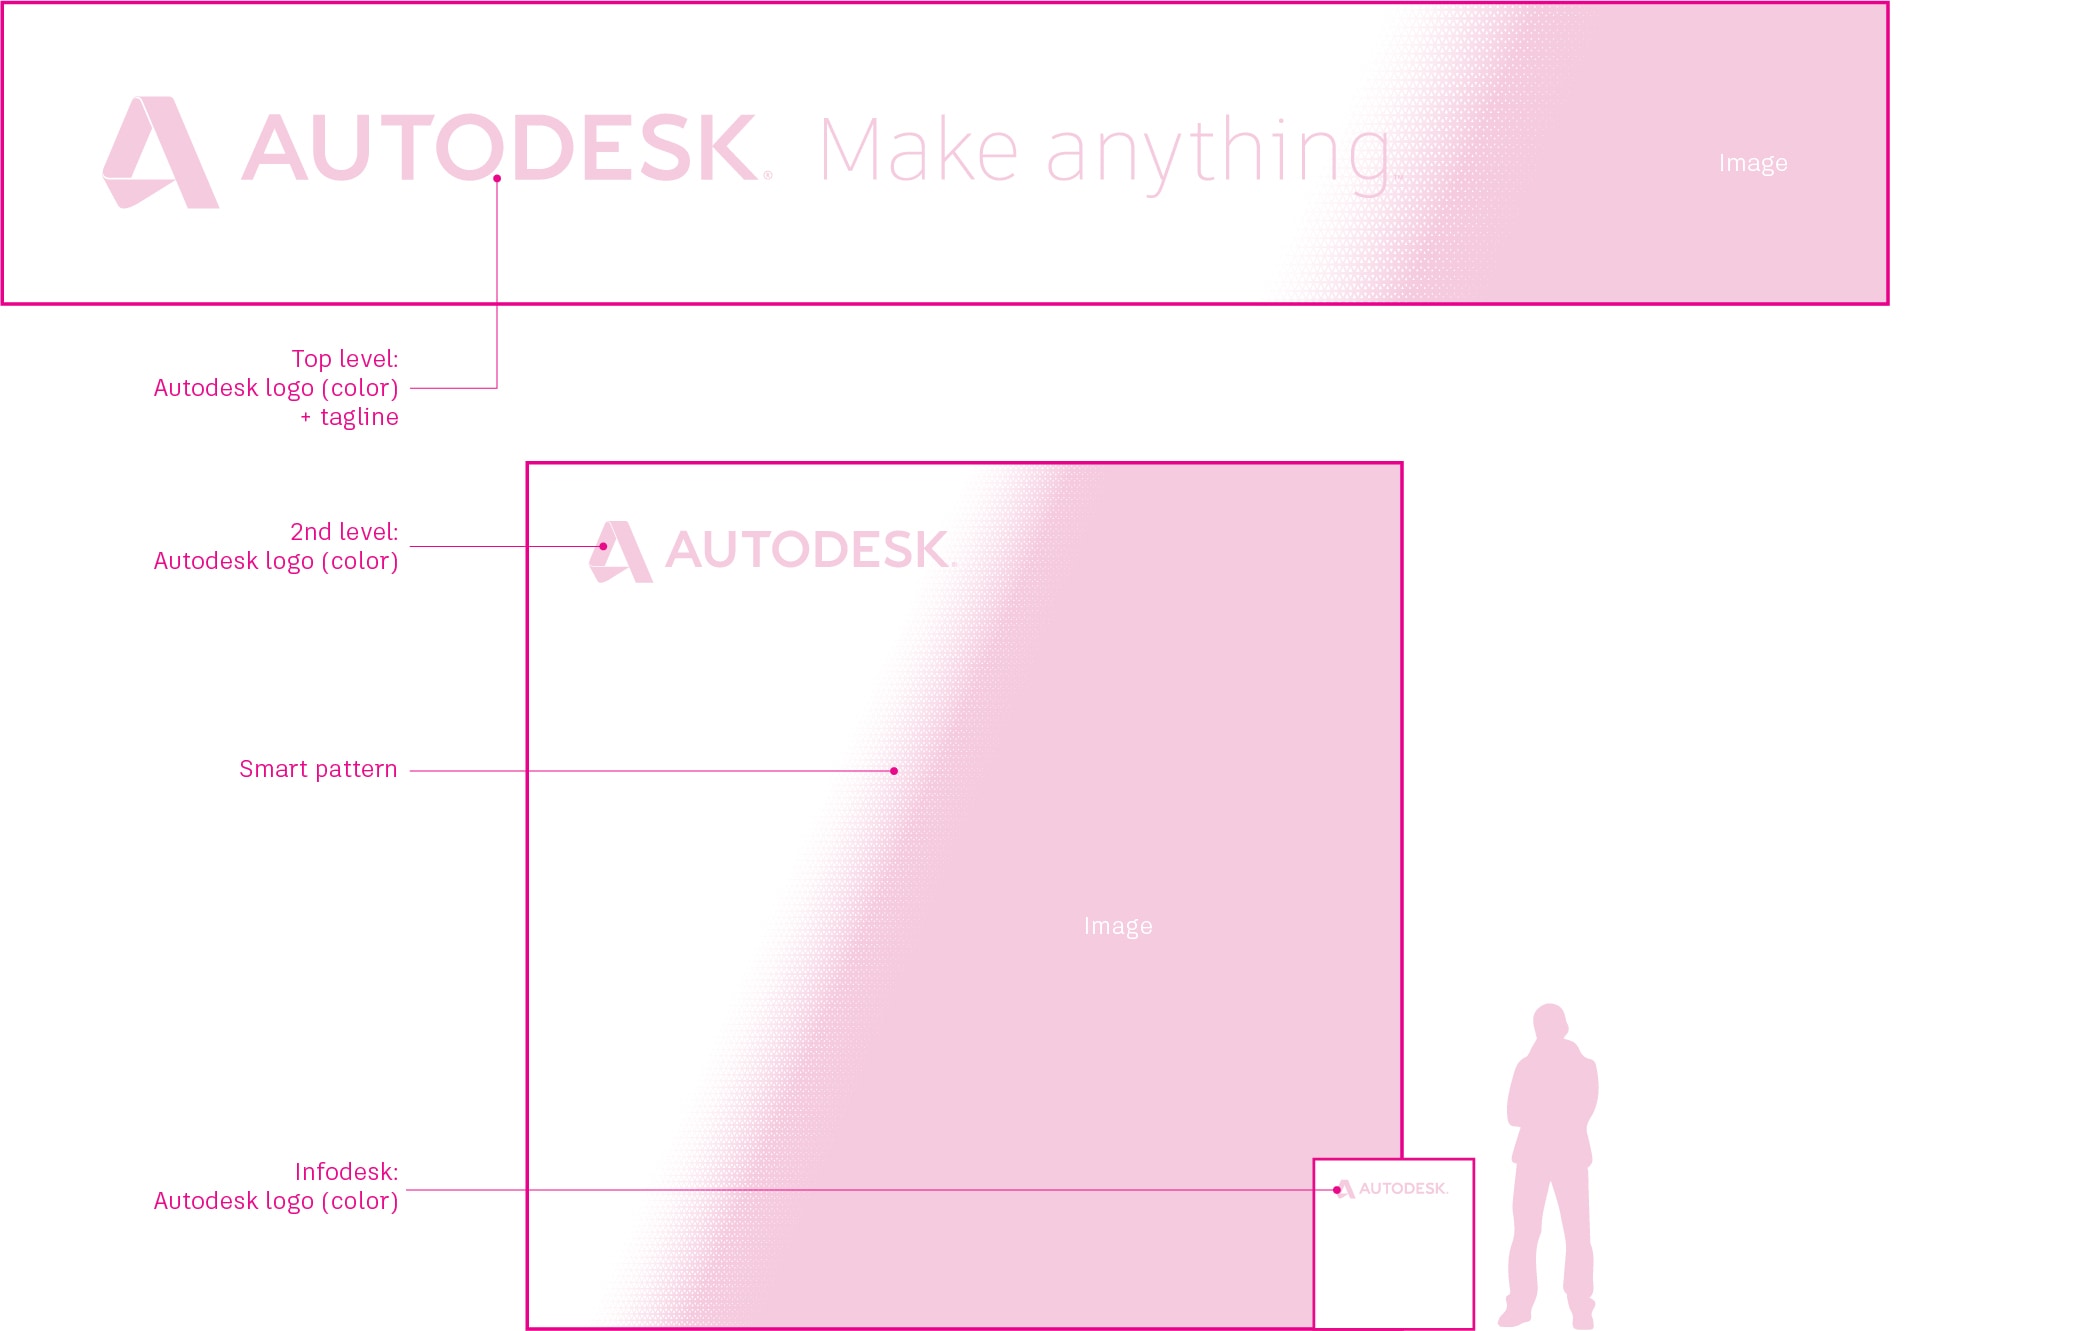
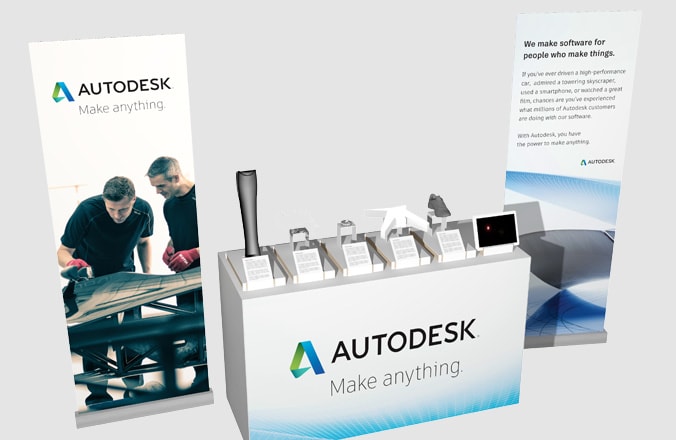
Signage
Signage draws your eye into a space. It should let visitors know they are within an Autodesk environment, with clear, concise, and consistent use of logos, imagery, and messaging throughout the space.
Here are a few key points to follow for signage:
- Overhead signs should have the logo visible on each side (booths 20’ x 20’ and larger).
- Do not overuse logos in spaces. Each component should only have one logo in plain view at a time, no more.
- Follow all guidelines for the Autodesk logo, tagline, and product logo use in spaces.
- Signage can be combined with imagery for greater visual impact.
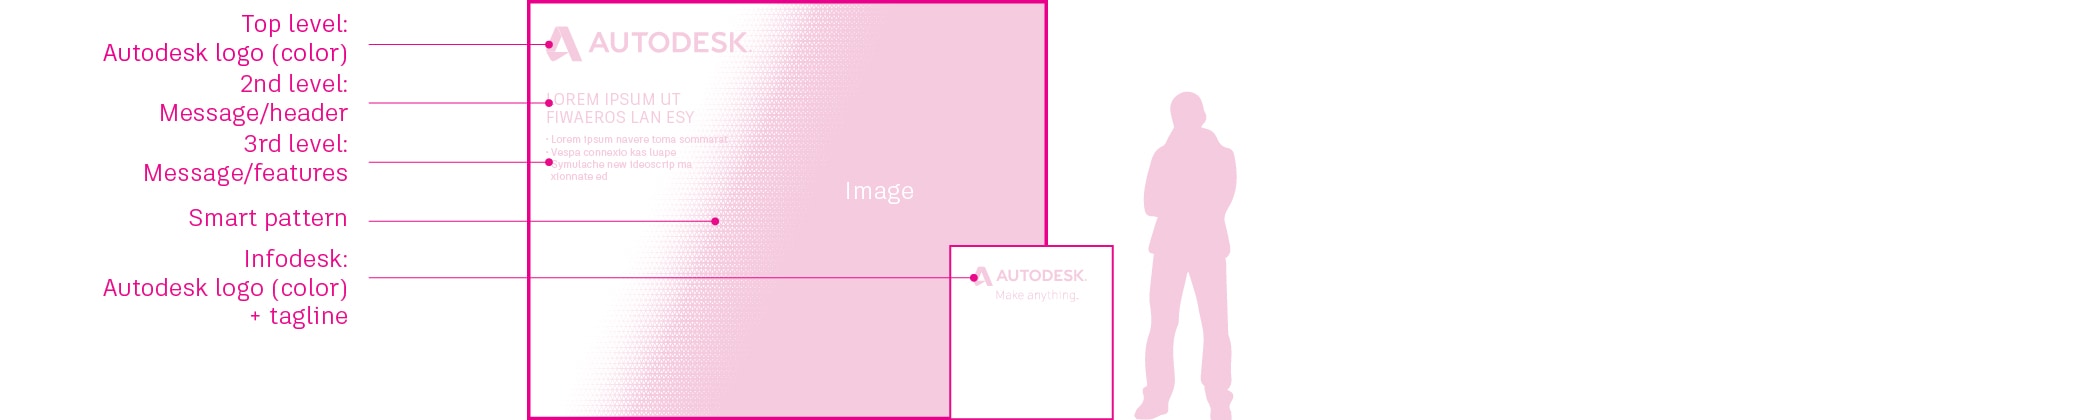
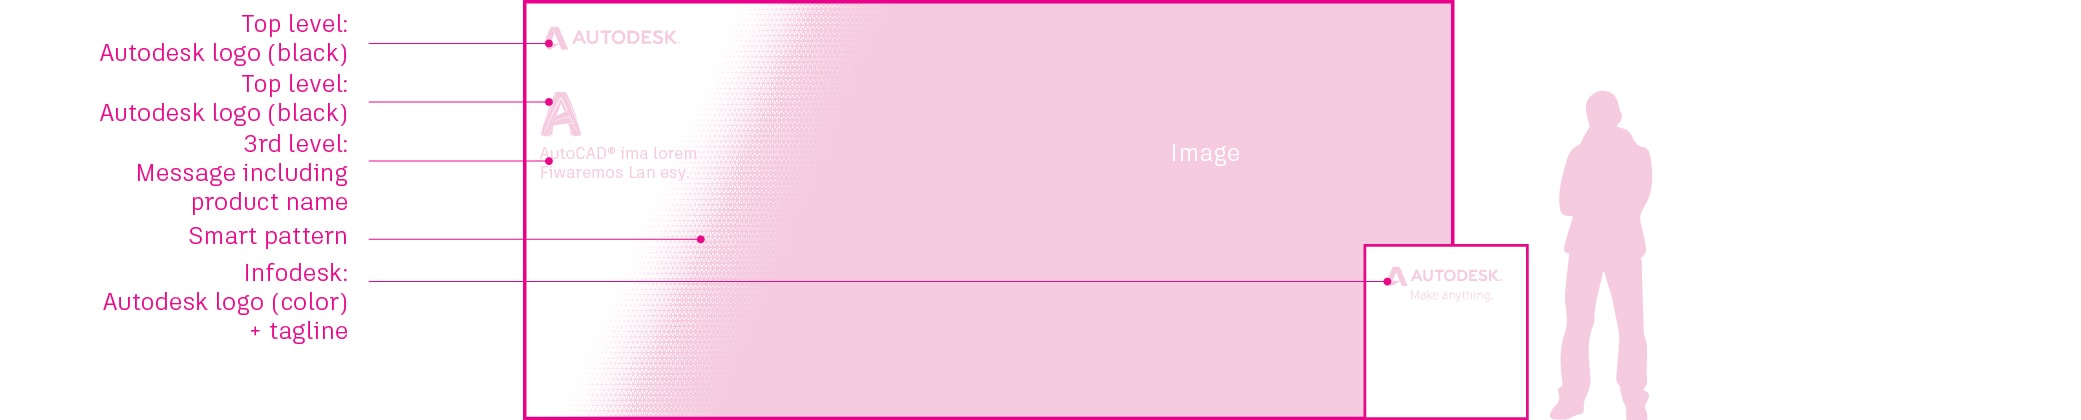
Signage messaging should follow prescribed hierarchies as shown in the examples below.
10’ x 10’ corporate booth with a 10’ x 8’ backwall unit
20’ x 20’ corporate booth with a 20’ x 8’ backwall unit
20’ x 20’ industry booth with a central tower (10’ x 8’ front / 5’ x 12’ side), and 4-sided, 18’ x 3’ hanging banner
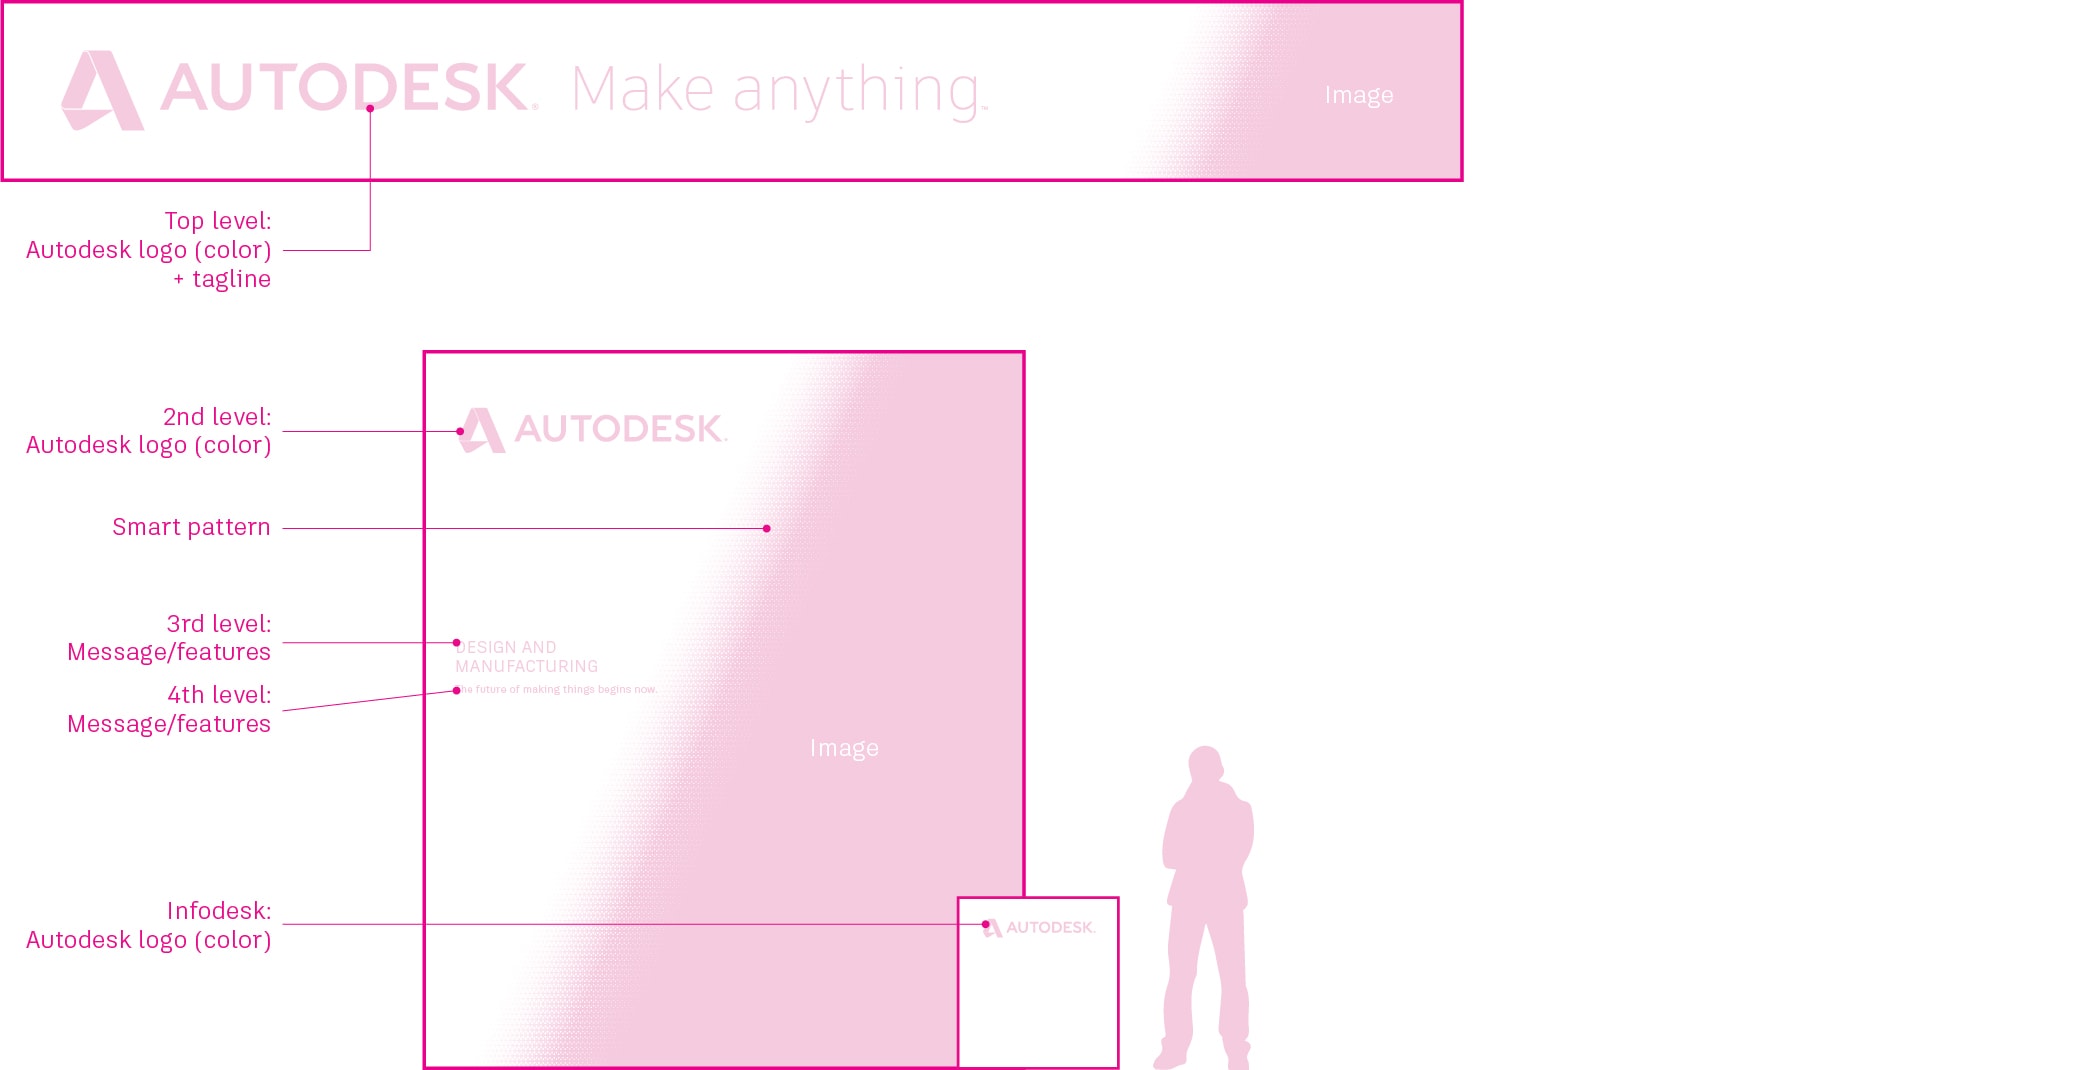
40’ x 40’ corporate booth with a central tower (16’ x 16’ front / 8’ x 16’ side), and 4-sided, 35’ x 4’ hanging banner
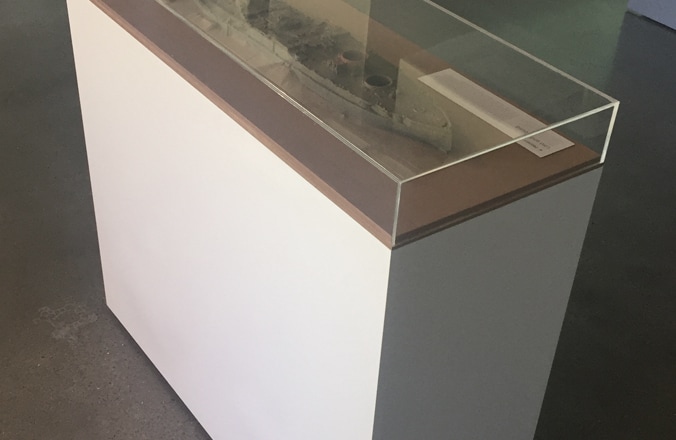
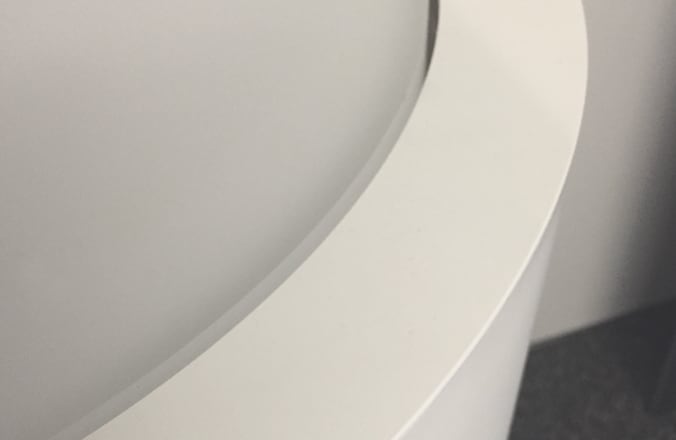
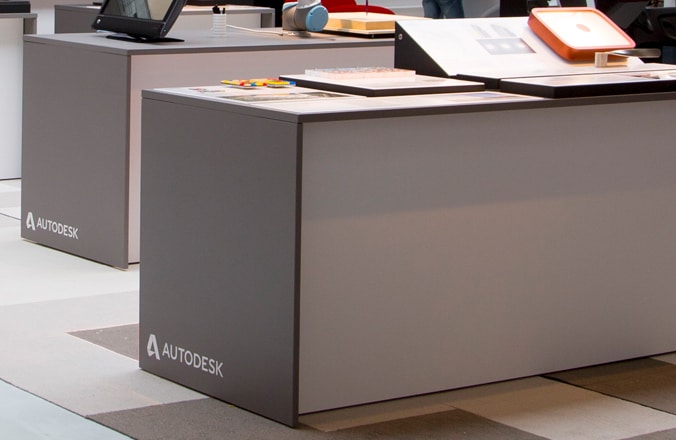
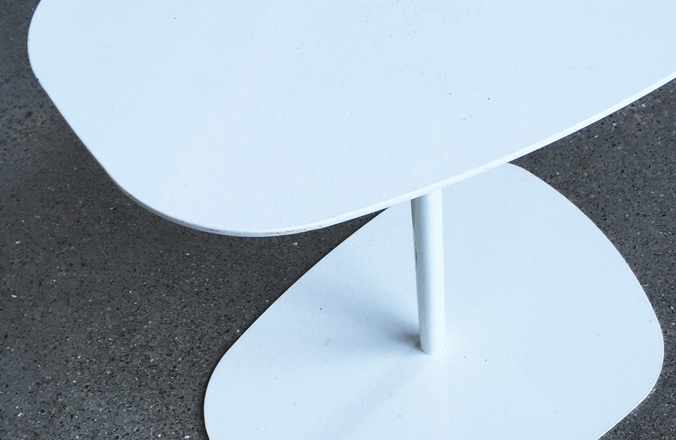
Plinths
Plinths (bases or platforms) are used to display our exhibits and other pieces of elevated focus. Like the other structures in our booths, they should be composed of minimal, clean lines. They should be in either light gray or white in color, and ideally have a matte finish. The Autodesk logo can be applied to the lower side (either left or right) of the plinth in white. Refer to our Autodesk logo guidelines for placement and scale.
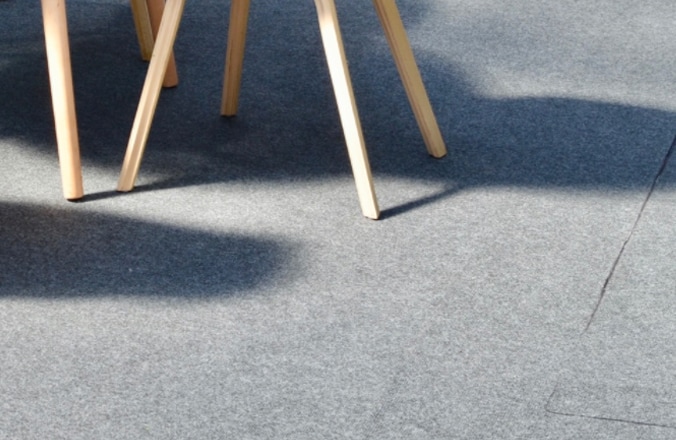
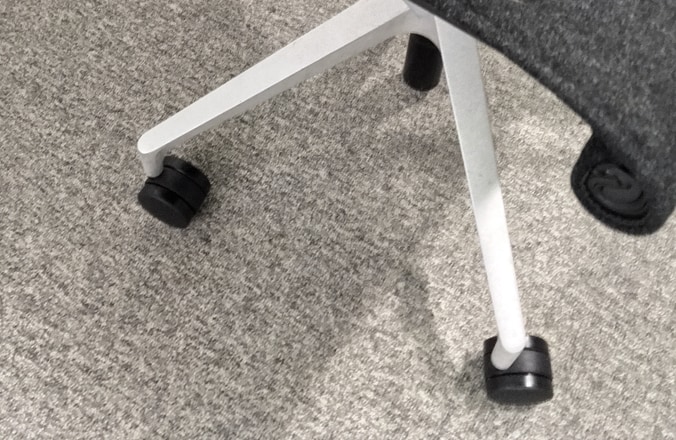
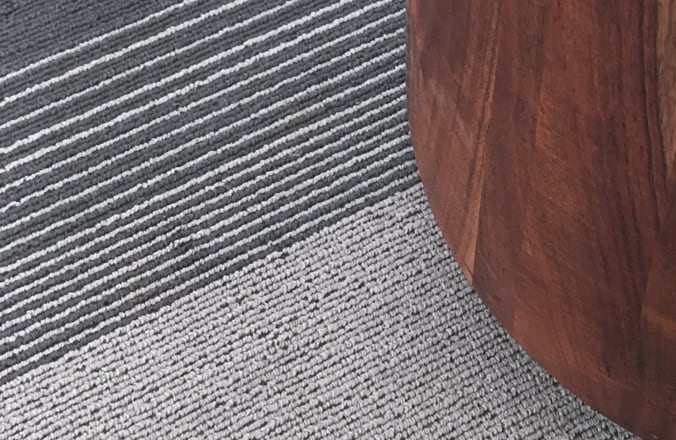
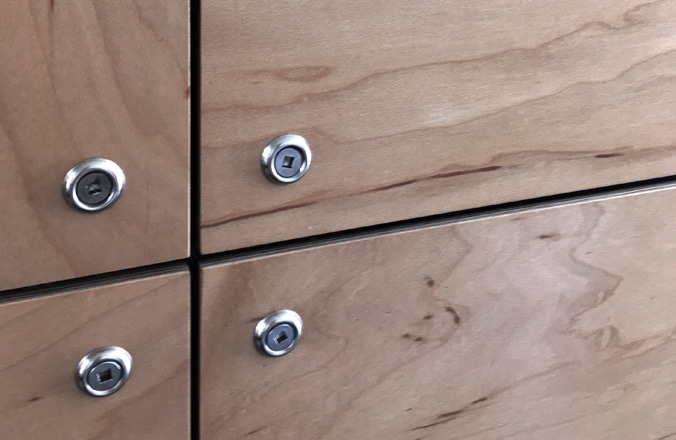
Carpets and flooring
Flooring and carpets are heavily used at events, and they take up significant surface area. Whenever possible, specify neutral tones—light wood flooring or charcoal or medium gray carpets. Gray hides dirt well, and adds depth to the space without feeling dark). Avoid white or black carpets.
Colors and finishes
Colors in a space can push or pull the eye, direct traffic, and create mood. It’s a powerful tool for conveying our message with clarity and emotion. Consider your use of color thoughtfully and purposefully, and apply it consistently in graphic applications, finishes, and lighting.
Choose warm tones over cool, keep it light and modern. Always start with Autodesk Blue as your accent color and use bold color touches sparingly for effect. For finishes, always choose the most sustainable option possible that’ll be durable enough and will fit your needs.
See the complete Autodesk color guidelines in the Colors section of this site.


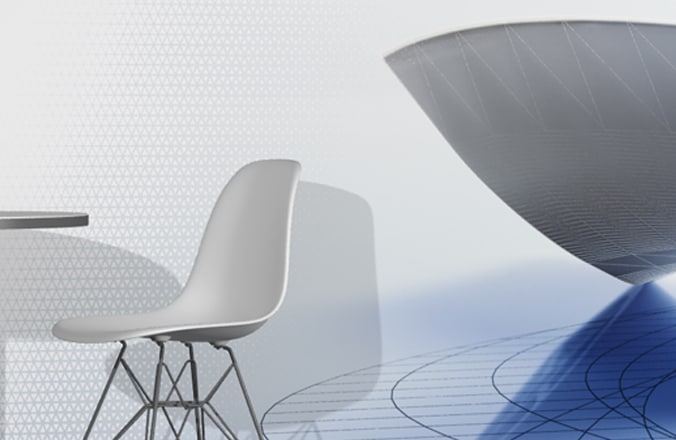
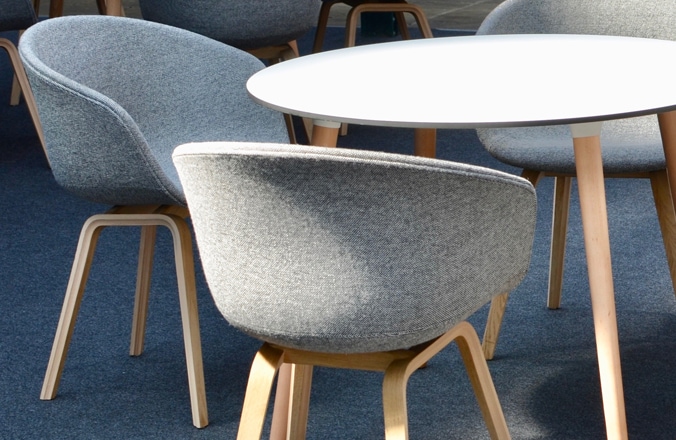
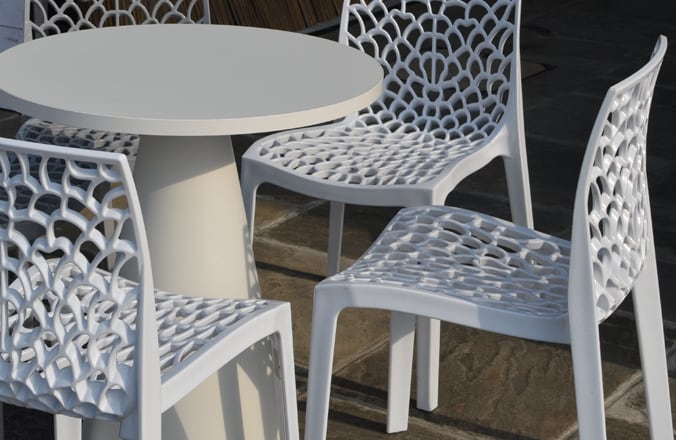
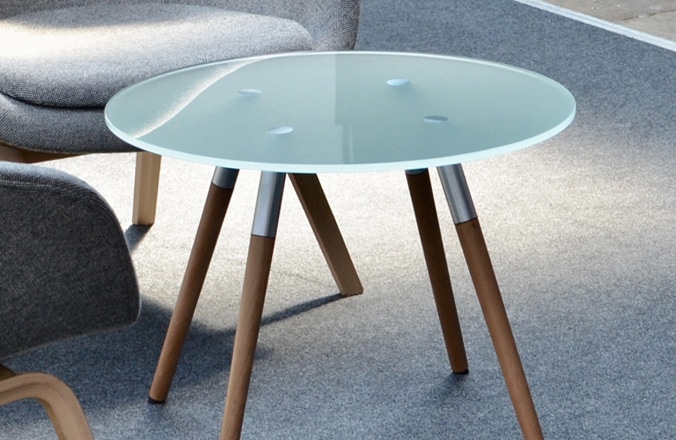
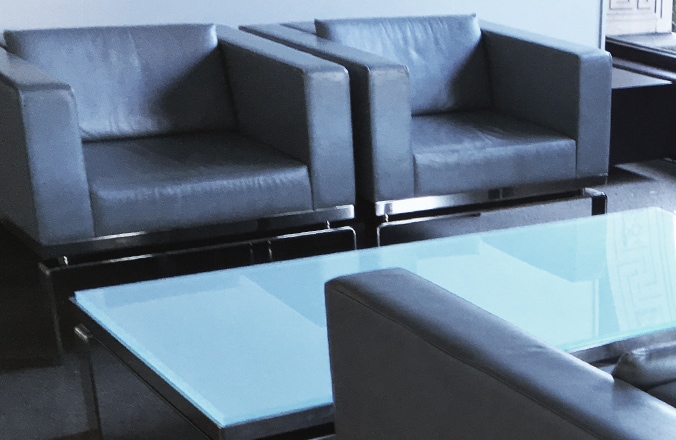
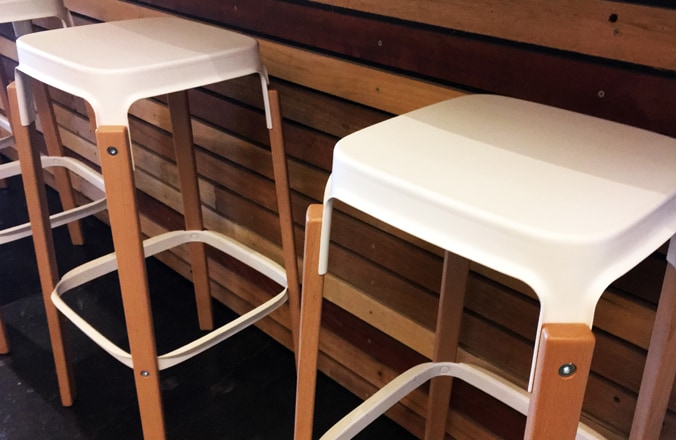
Furniture style guide (includes rental)
Furniture also contributes greatly to the overall feel of a space, and is an important touchpoint—literally, it’s one of the few components that people actually touch. Carefully consider your rental choices. Don’t just go with the first or cheapest item on the menu. Explore various options to see what works best aesthetically with the space. Whether renting or purchasing, choose furniture that is:
- Modern in style
- Made of real materials/feels high quality
- Structured from clean, simple lines
- Light in finish with warm accents
- Comfortable and fits the purpose and space with ease
Custom booth elements
For various reasons—non-standard layouts, budget, location—some events may require custom elements. When creating unique booth elements for an event—graphics, messaging, colors, or architectural materials—be consistent with your use of color, materials, and overall aesthetic. Everything in an event space should work together to synergistically promote the Autodesk brand and promote our unified view on the Future of Making Things.
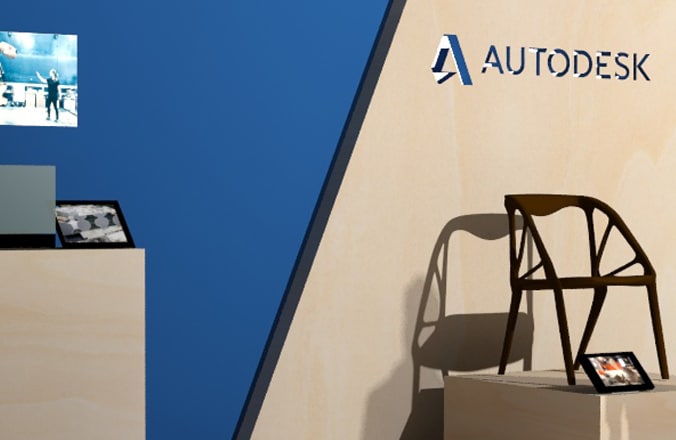
Custom event examples
Below are a few examples of our international and national custom-designed events. These are intentionally very diverse. They are specifically catered to particular event needs and audiences, as well as geographical styles.
Paris Pop-up
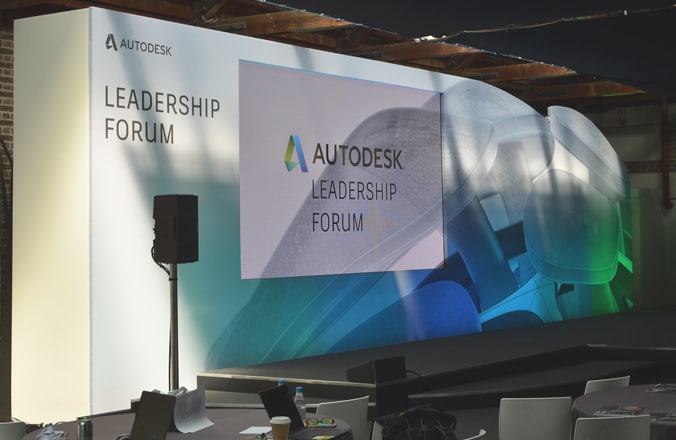
Leadership Forum at AU London
Tokyo Design Week
Hanover Messe
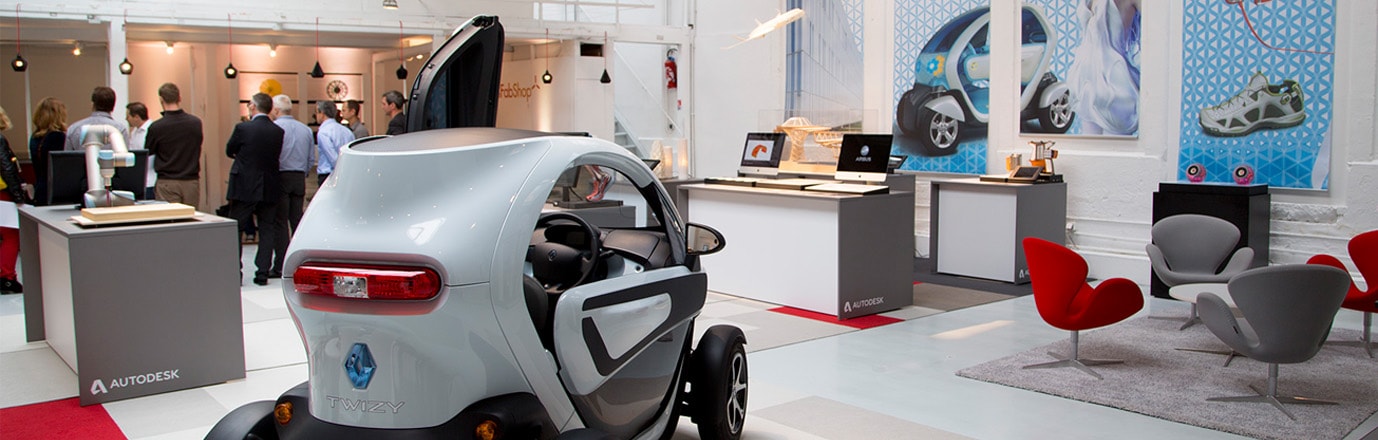
Custom exhibits
Autodesk exhibits focus on a variety of customer stories worldwide. They showcase customer projects, artifacts, and often include tablets or other electronic devices. Exhibits should be of a portable format and built at a scale that is easy to assemble and display on a custom plinth or other rental surface.
Named Accounts
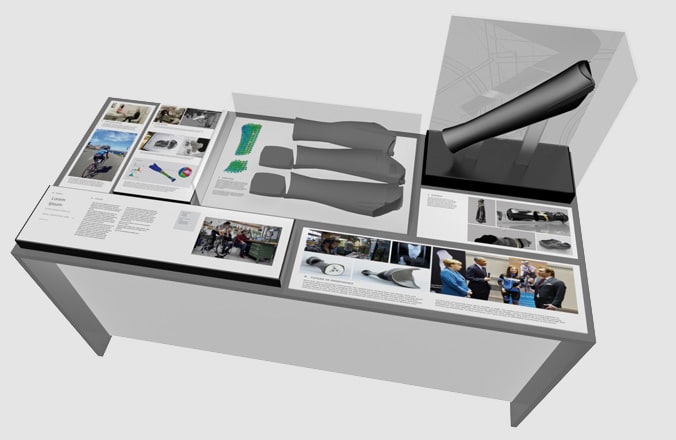
3D printed sports prosthesis – Denise Schindler
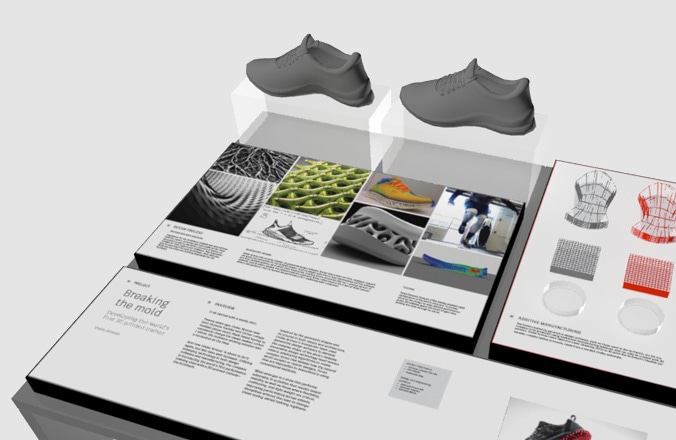
Best foot forward – Under Armour
Custom materials
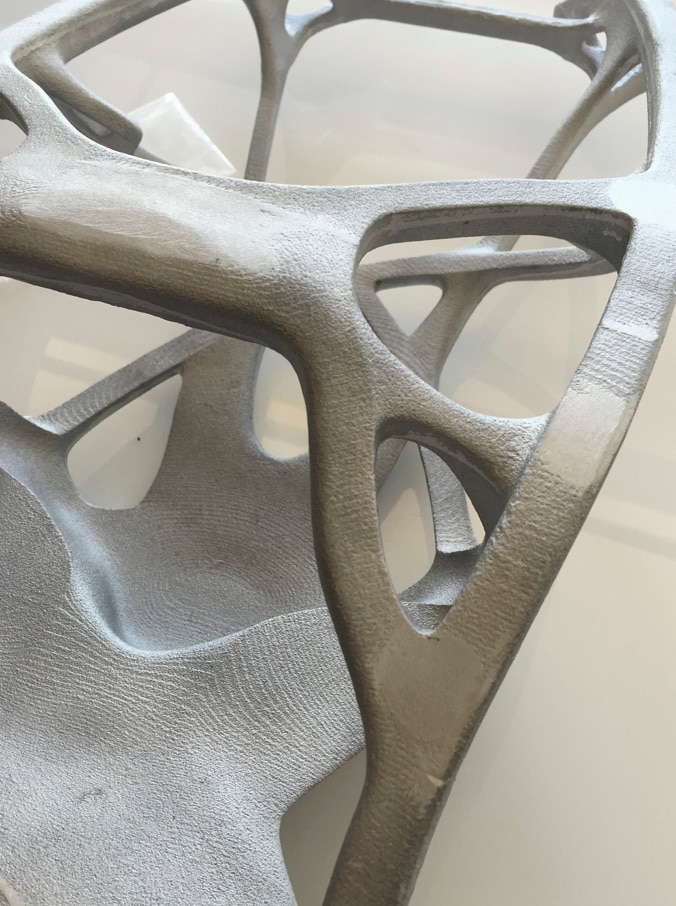
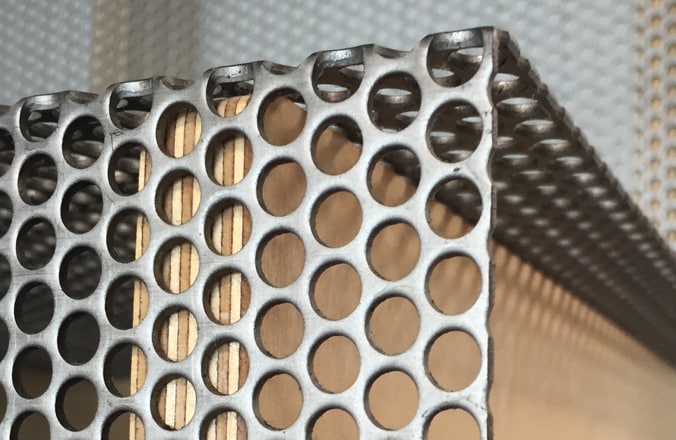
The modern Autodesk aesthetic has richness, warmth, and depth, and our materials always exude beauty and quality. When designing environments and exhibits, look for real materials, and choose sustainable options whenever possible. Try to incorporate materials that are true to the process of generative design, 3D printing, other methods that help our customers create things.
Event suppliers
Please use an Autodesk events preferred supplier to create all booth structures and for any furniture purchase/rental. Our preferred suppliers will have access to the correct artwork and should be fully briefed on our event and brand element guidelines. Each supplier should also have rental catalogs that can offer appropriate furniture for your needs. Visit the Global Customer Events team page (internal access required) for more details.
Useful resources
Review the Brand Elements sections within this site for full guidelines, and overall dos and don’ts. The pages also include direct links to easily find artwork and image files you may need from the DAM (access required).
Autodesk logo and Make anything tagline
Specifications, dos and don’ts, and download links to logo kits
Logo system and Product identity
Definitions and usage information for our available logo assets, and download links to product logotypes, and lockups, and badges
Colors
Full details on our corporate and product colors, along with formulas and downloads to Autodesk’s ASE color library files
Typography
Usage details, downloads, and installation tips for Autodesk Artifakt
Imagery
Details on our brand, product, technical imagery, and patterns, with direct DAM links to each collection
Photography
General best practices and direct DAM links to photography for a few specific audiences
The Edge
Specifications and examples for incorporating the Autodesk Edge into your designs
Verbal identity
Information on the Autodesk messaging, tone and voice, the Autodesk Story, naming, and editorial guidelines resources
Brand Hub Resources tab
Descriptions and direct links to various tools, such as the Autodesk DAM, Brand templates, showreels, and contact information
For questions and Brand Approval, please e-mail brand@autodesk.com.